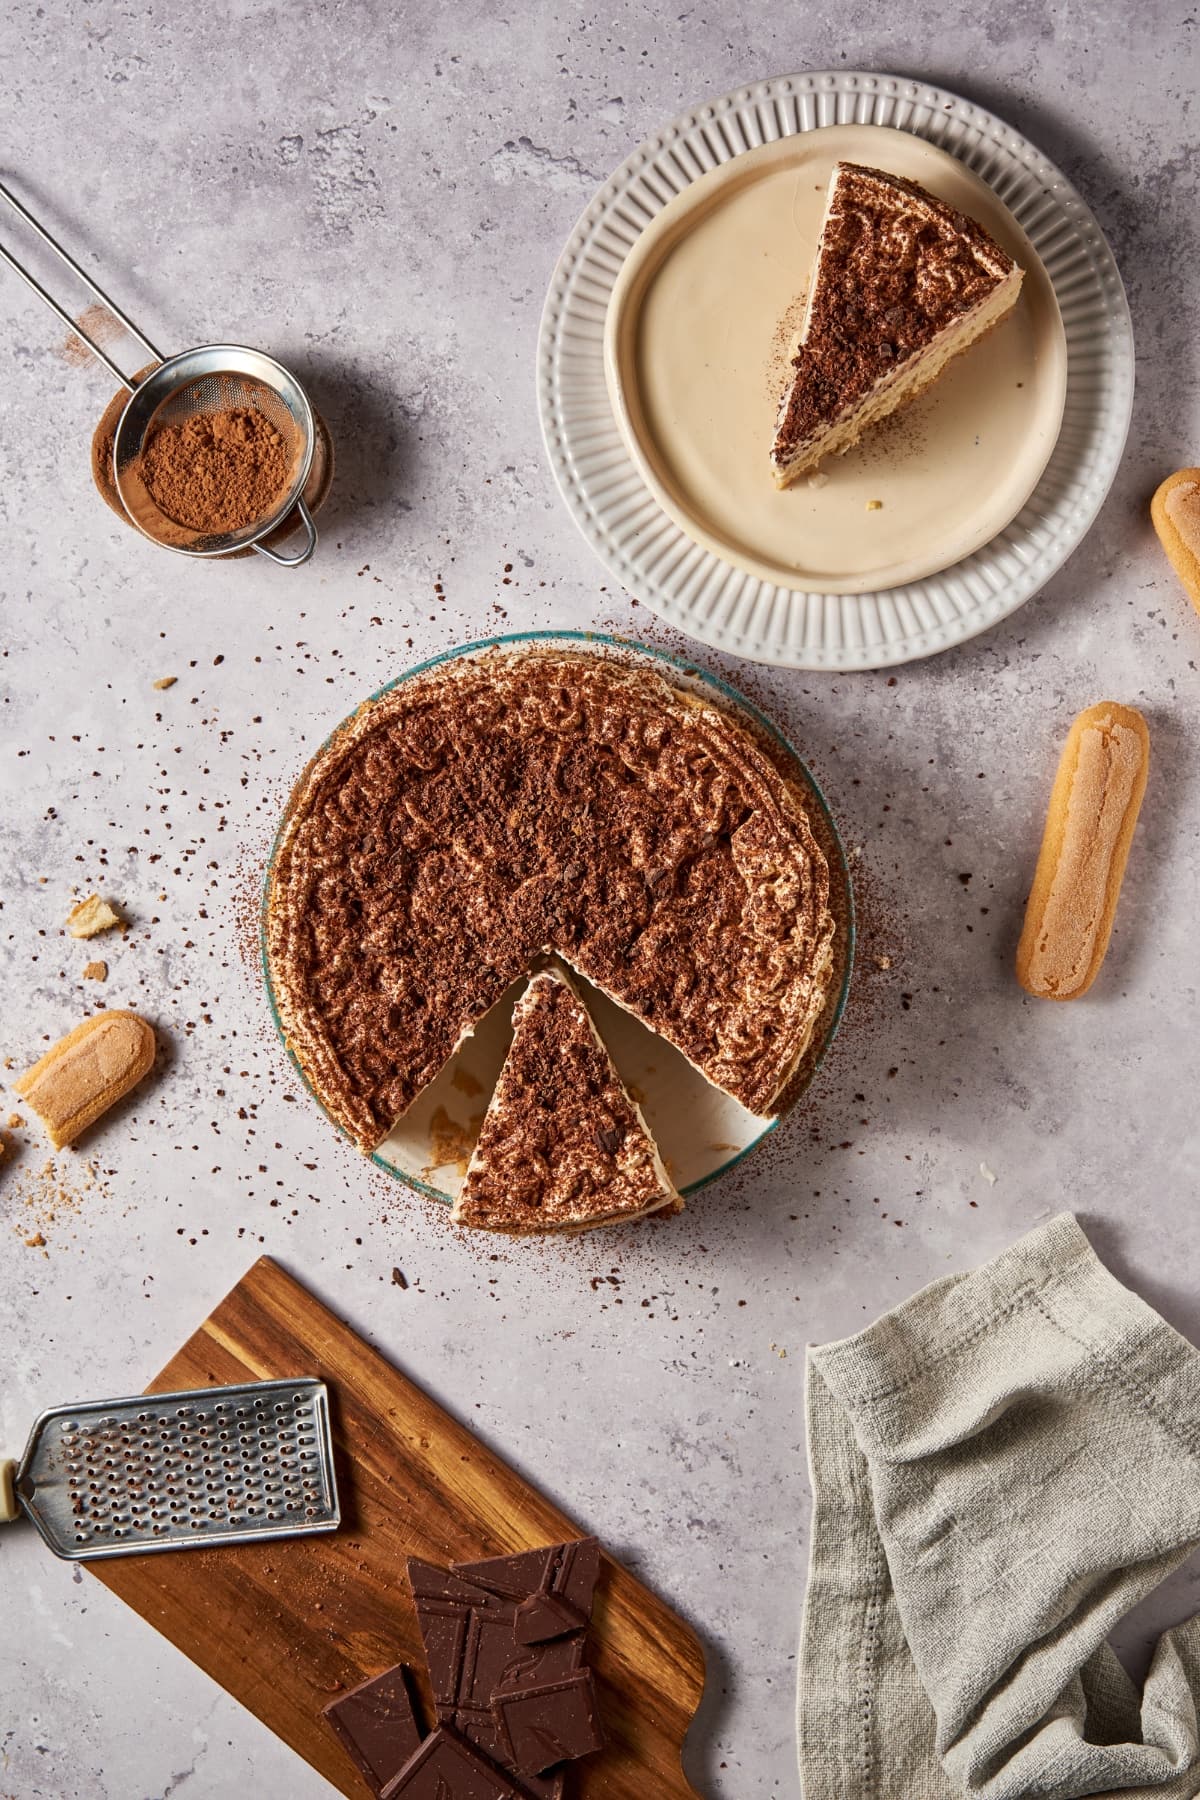
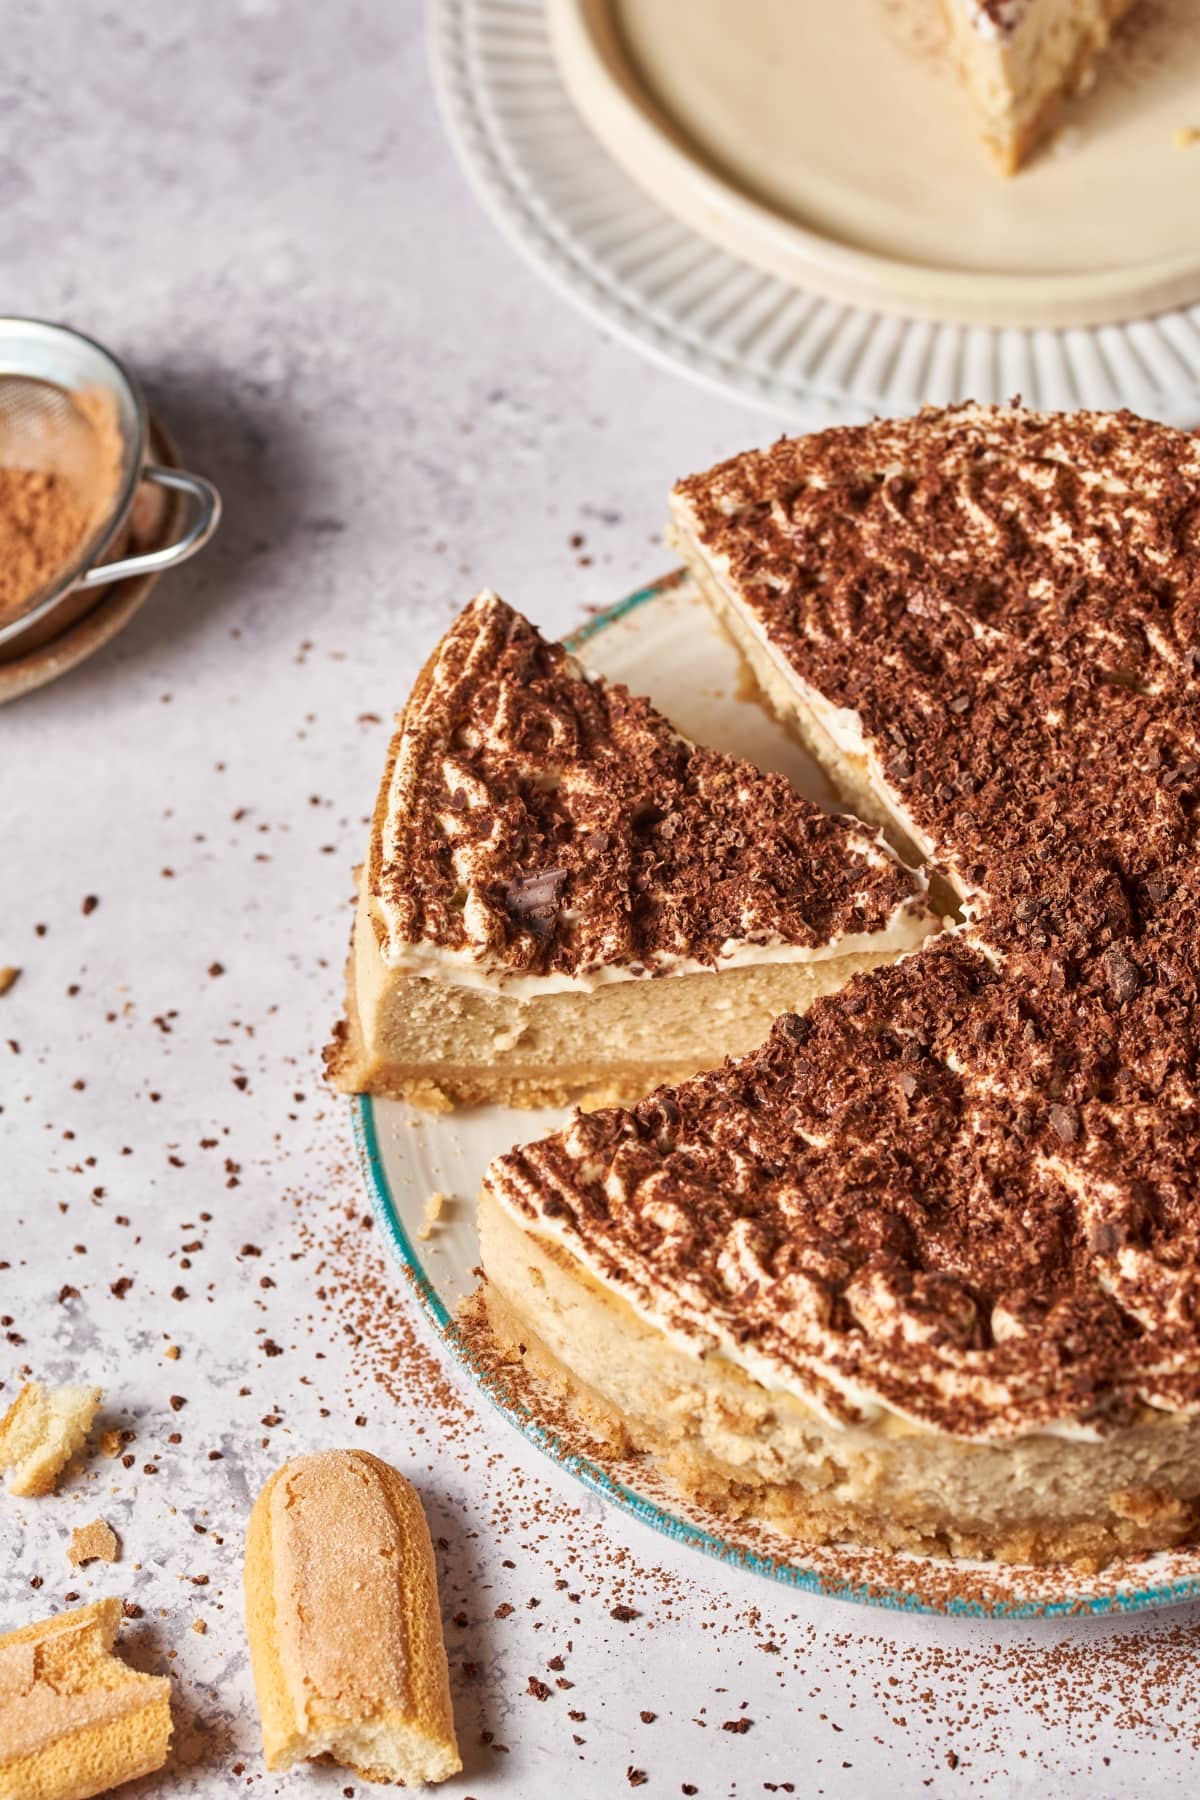
This Tiramisu Cheesecake is a decadent culinary masterpiece that blends the sophistication of tiramisu with the creamy allure of cheesecake. Crafted with a delicate rum-infused ladyfinger crust followed by a velvety espresso-flavored mascarpone and cream cheese filling, this is an incredibly delicious twist on the Italian dessert. Whether you’re a lover of traditional tiramisu or a cheesecake connoisseur, this recipe is an absolute showstopper.
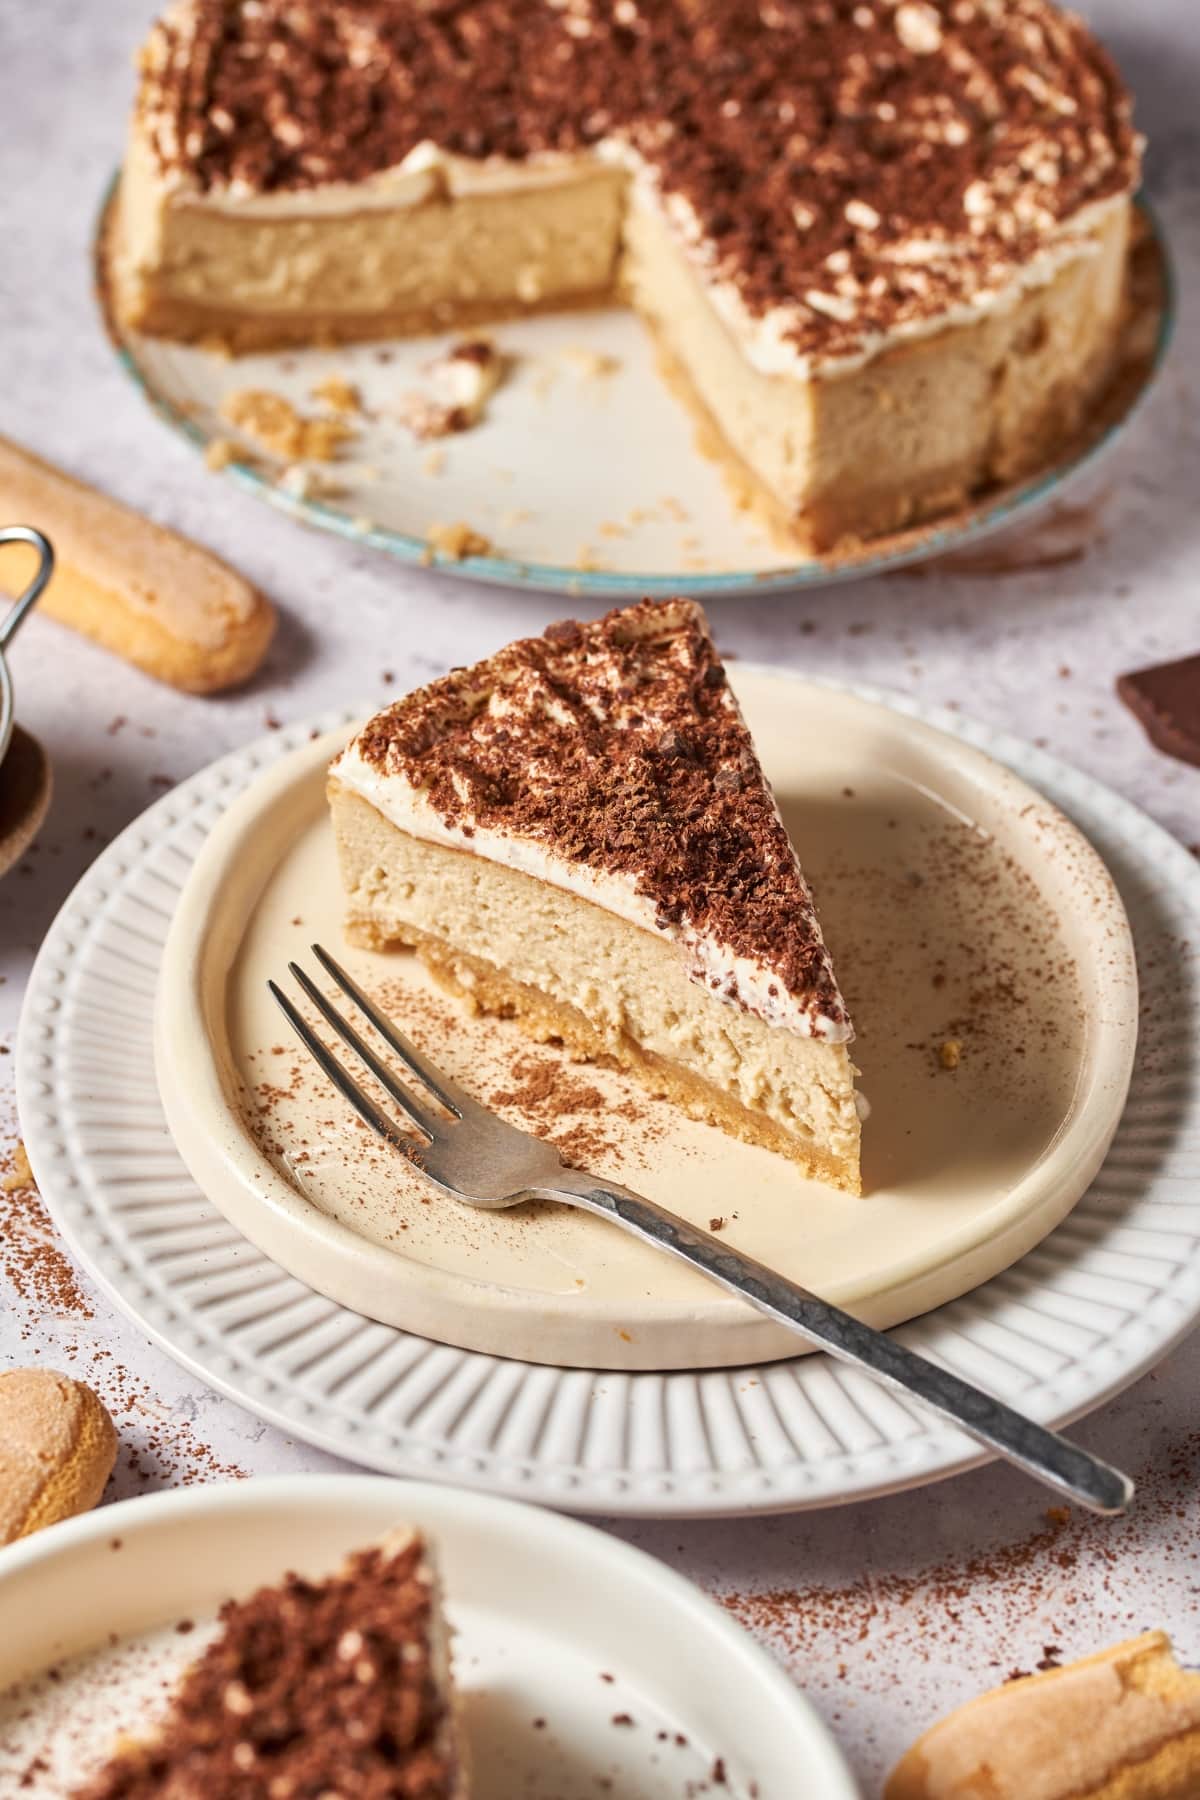
Tiramisu Cheesecake is a scrumptious dessert that flawlessly marries two beloved classics: tiramisu and cheesecake. It takes the luxurious elements of traditional tiramisu and perfectly combines them with the creamy richness of a baked cheesecake.
It’s a delightful creation that features a velvety smooth cheesecake filling made with cream cheese and mascarpone infused with a touch of espresso powder. The creamy filling is then seated on a delicate crust crafted from finely ground lady fingers mixed with a splash of rum for that distinct tiramisu flavor. The result is a heavenly dessert that combines the creamy, tangy goodness of cheesecake with the bold, aromatic notes of Italian tiramisu.
But don’t let the idea of making tiramisu cheesecake intimidate you! This recipe is surprisingly easy to follow, even for novice bakers. With my clear set of instructions and some handy tips, you’ll be able to create a stunning dessert that tastes like it came straight out of a professional bakery.
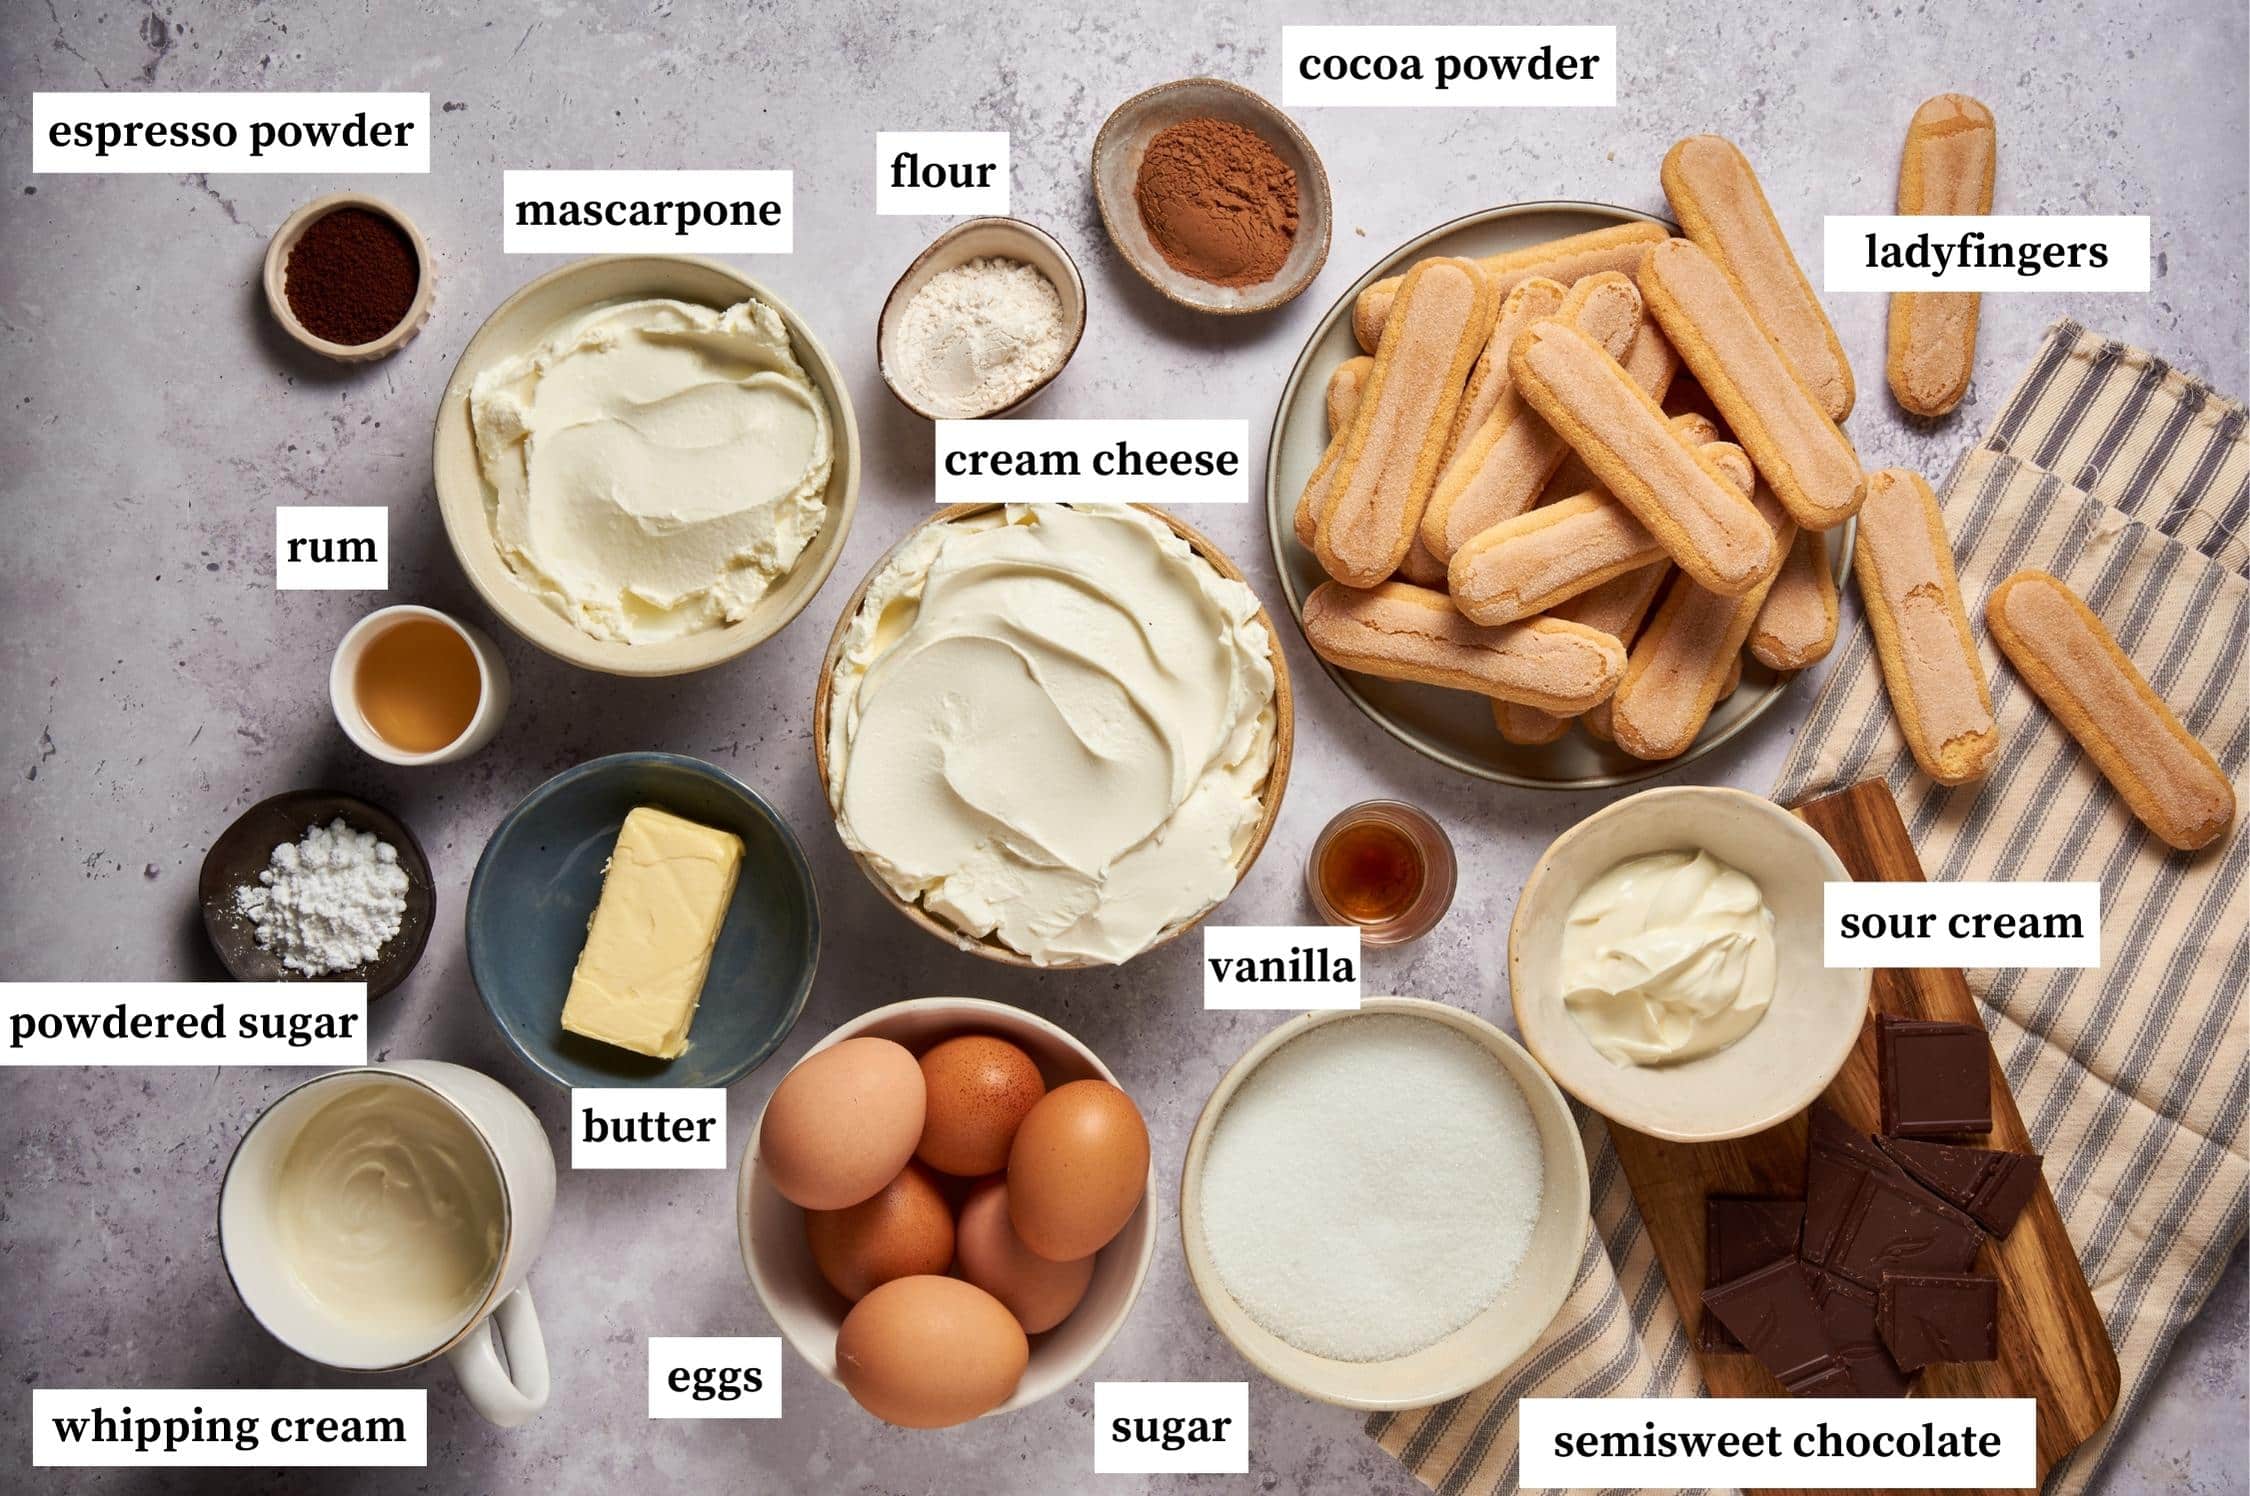
To create this irresistible tiramisu cheesecake, a selection of ingredients that bring together the best of both worlds are used. Each ingredient plays a crucial role in achieving the perfect balance of a creamy cheesecake and the unmistakable essence of tiramisu.
Making this tiramisu cheesecake recipe may sound complicated. But with these easy step-by-step instructions, you’ll be able to master this delicious dessert with confidence. From preparing the ladyfinger crust to achieving the perfect creamy filling and topping, this recipe guides you through each stage of the process.
1. Preheat the oven
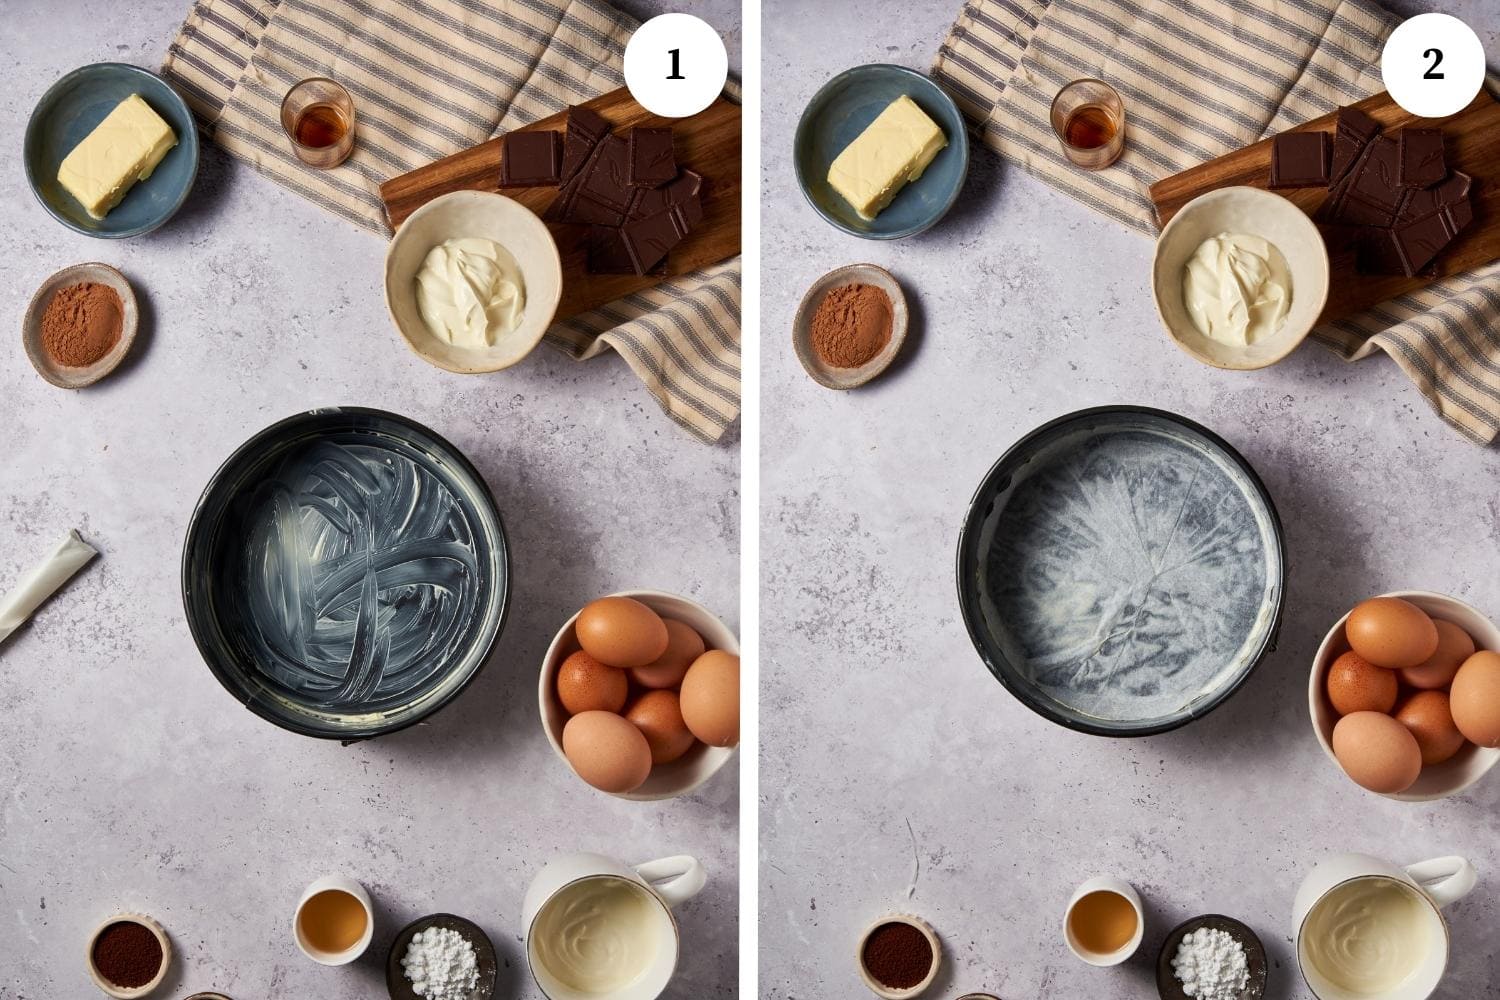
Before you even begin, you need to preheat your oven to 350°F (177°C) so that it’s ready to go. Then generously grease a 9-inch springform cake pan with butter (photo 1) and line the bottom with parchment paper (photo 2) to keep your cheesecake from sticking. Note, a slightly larger springform cake pan will also work but a smaller one will not.
2. Make the ladyfinger mixture
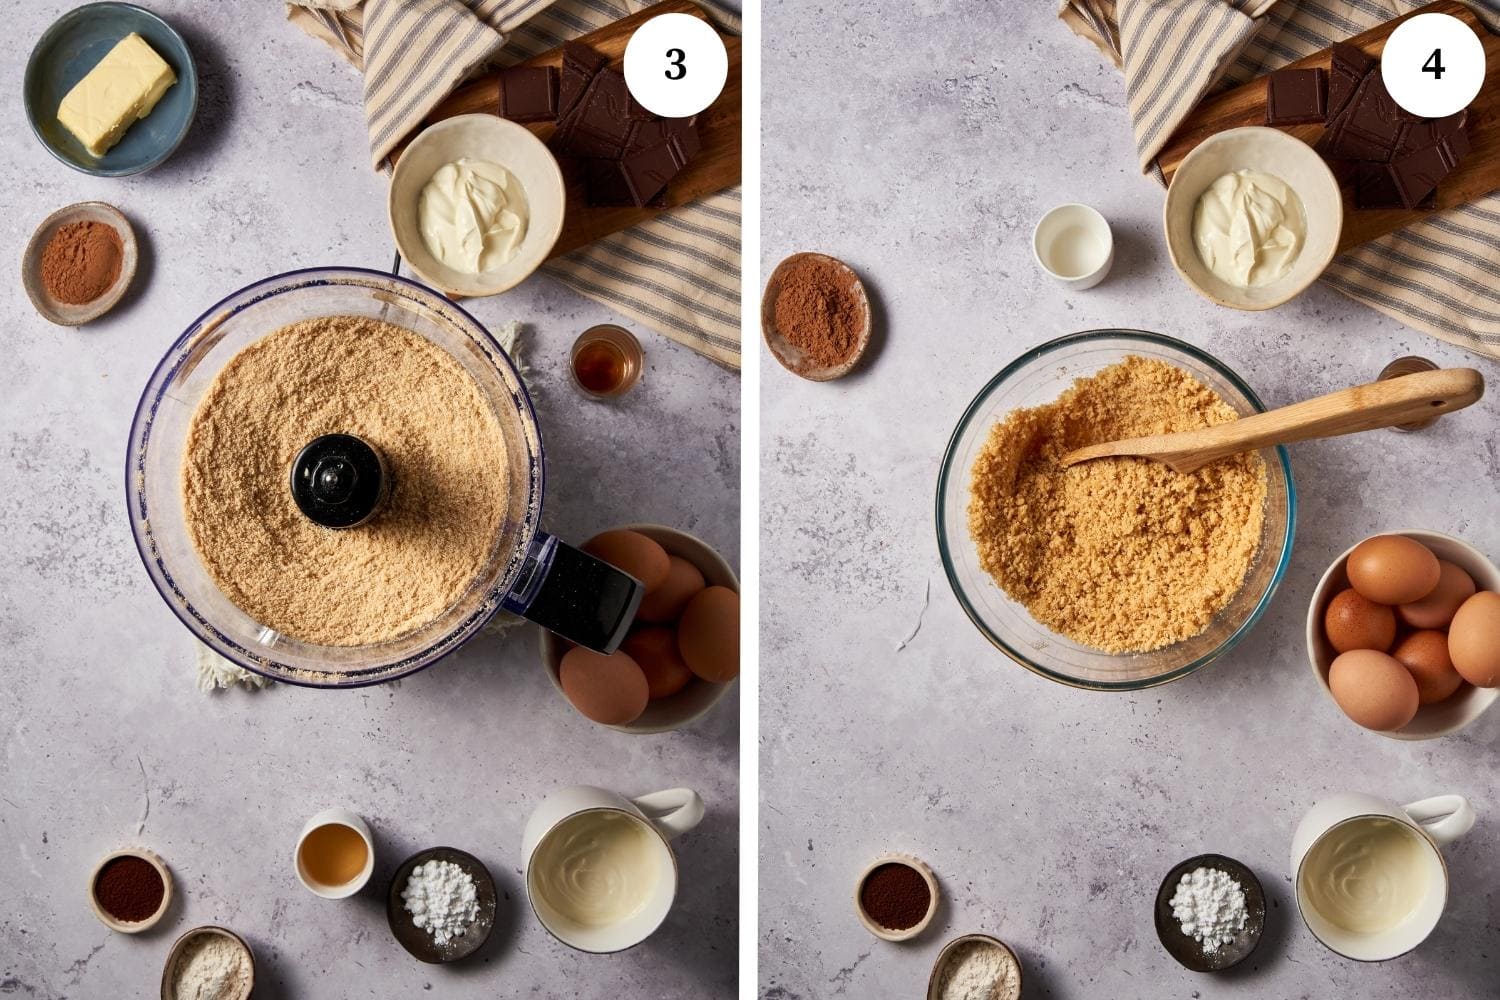
Once your pan is prepped, you can begin making the crust. First, use a food processor and pulse the ladyfingers into fine crumbs (photo 3). Then put the crumbs into a medium bowl and mix them with the melted butter and dark rum until well combined (photo 4).
3. Form the crust
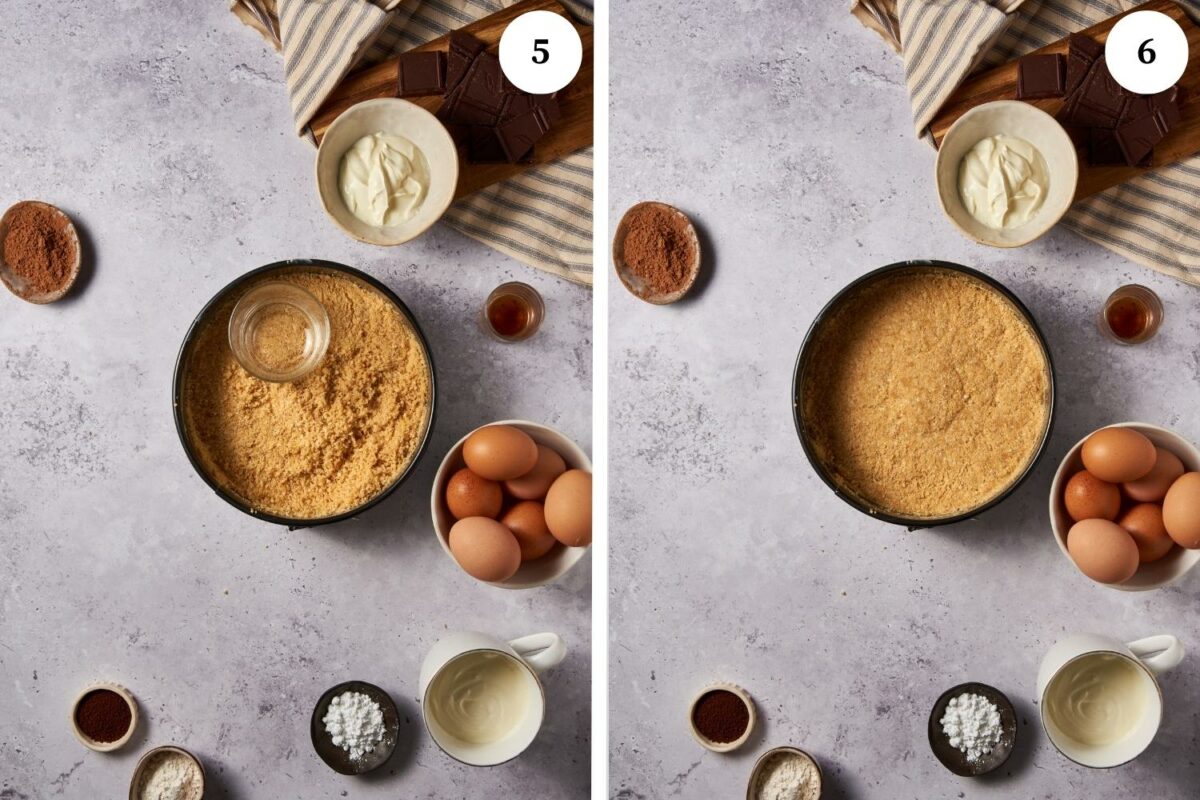
Now, pour the ladyfinger mixture into the prepared pan and use the bottom of a glass or your fingers to press the crumbs firmly into the bottom to form a crust (photo 5). Make sure the crust covers the entire bottom and reaches the edges of the pan.
4. Bake the crust
Finally, transfer the crust to the preheated oven and bake it for 6 minutes. Then remove it from the oven and set it aside to cool while you make the filling (photo 6). The crust should be completely cooled before it’s filled.
1. Lower the oven temperature
Once you’ve baked your crust, it’s important to lower the oven temperature to 325°F (163°C) in preparation for baking the cheesecake. Avoid the temptation to bake the cheesecake at 350°F (177°C), as even a small temperature difference can significantly affect the final outcome of the dessert.
2. Make the base of the filling
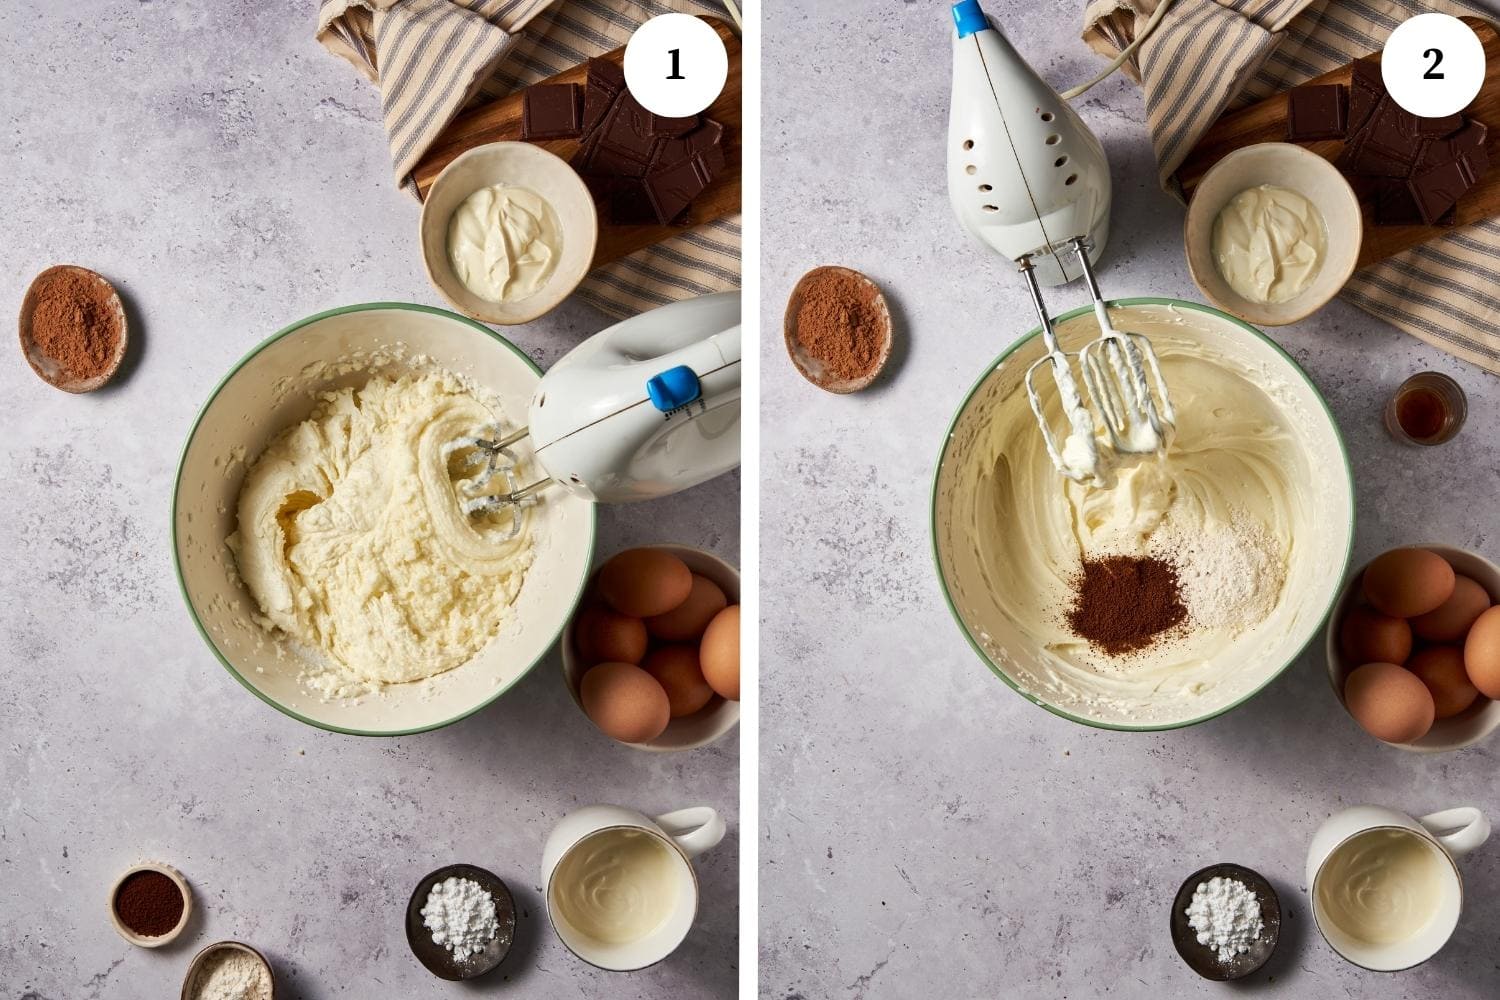
Now, you can begin making the creamy filling by whipping the room-temperature cream cheese, mascarpone cheese, and sugar together for about 3 minutes on medium speed with an electric mixer (photo 1). When the mixture is ready it should be lump-free and smooth. Next, add the all-purpose flour and espresso powder (photo 2) and then mix on medium-low speed until fully combined.
3. Whisk the eggs
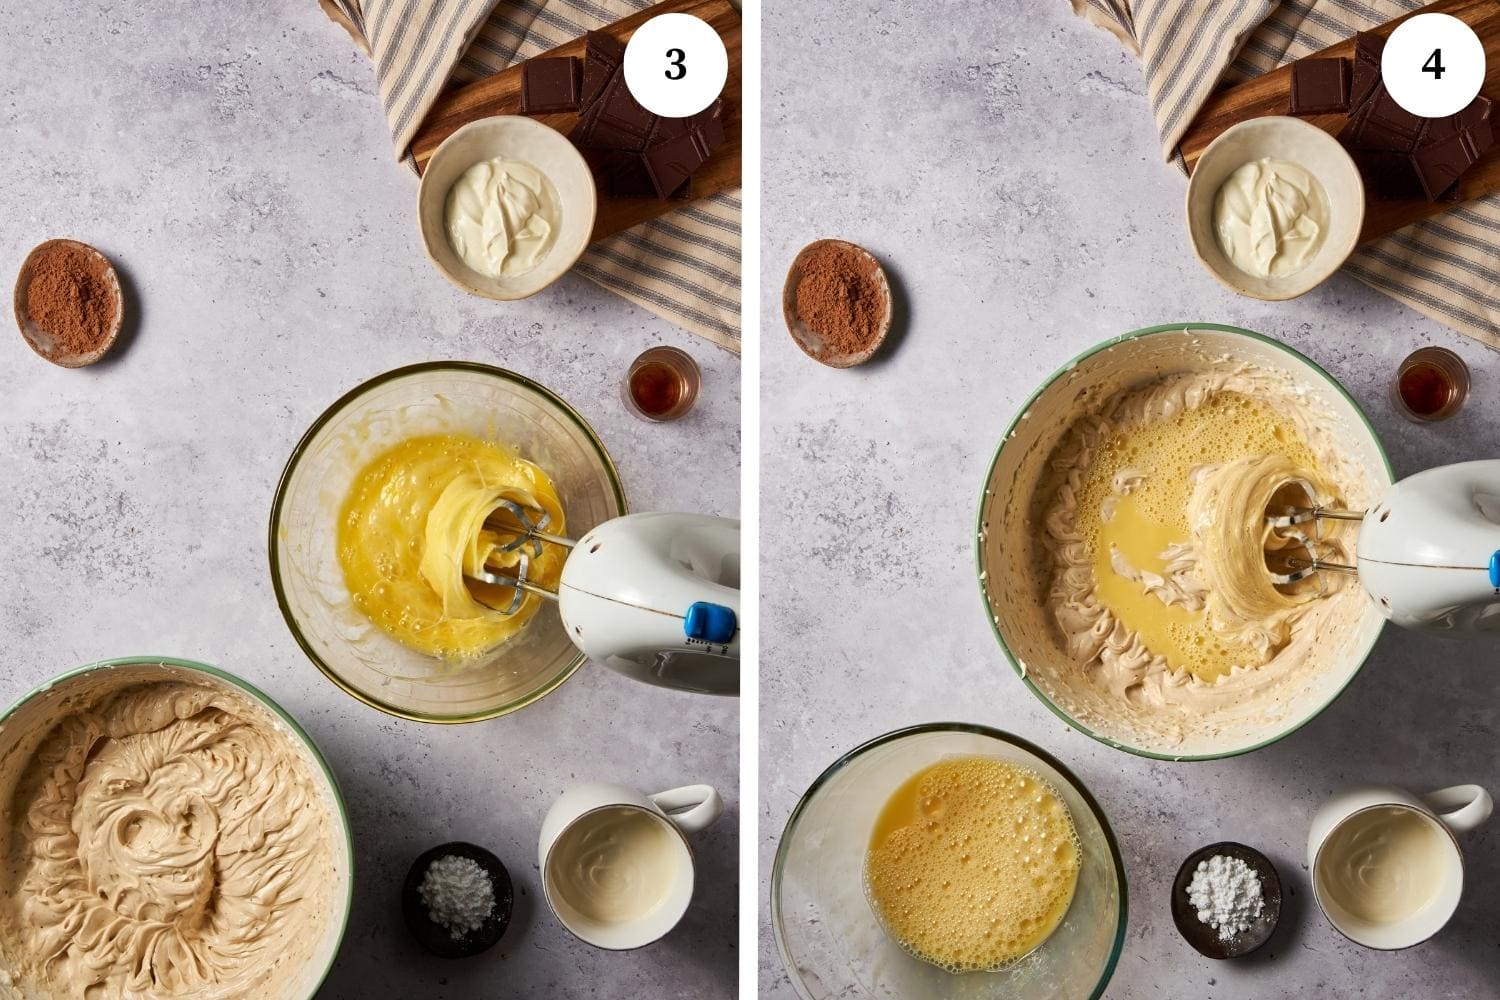
In a separate bowl, whisk together the room-temperature whole eggs and egg yolks (photo 3). This step helps you to incorporate them smoothly into the batter. Next, add half of the egg mixture to the cream cheese mixture, mixing at low speed until fully combined (photo 4). Then repeat the process with the remaining half of the whisked eggs.
4. Complete the batter
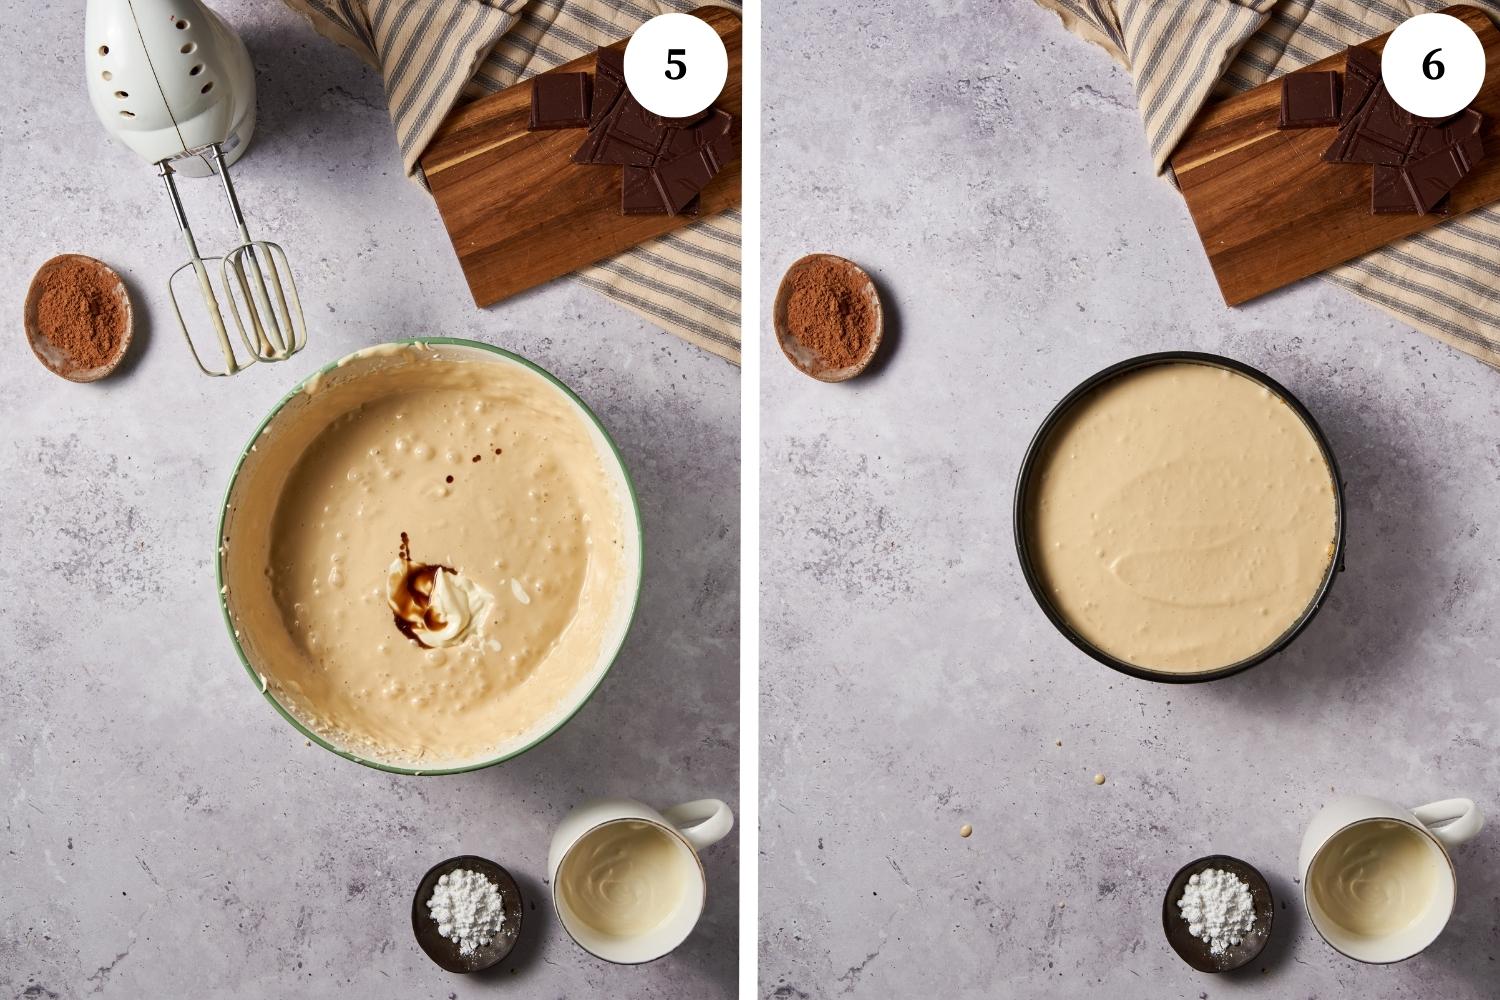
Finally, mix in the sour cream and vanilla extract on low speed (photo 5). You should use a rubber spatula to scrape down the sides of the bowl as needed. The final tiramisu cheesecake batter should be fully combined but not overmixed.
Now, pour the batter evenly over the cooled crust in the pan (photo 6). If needed, you can use an offset spatula or spoon to smooth the surface.
1. Make the water bath
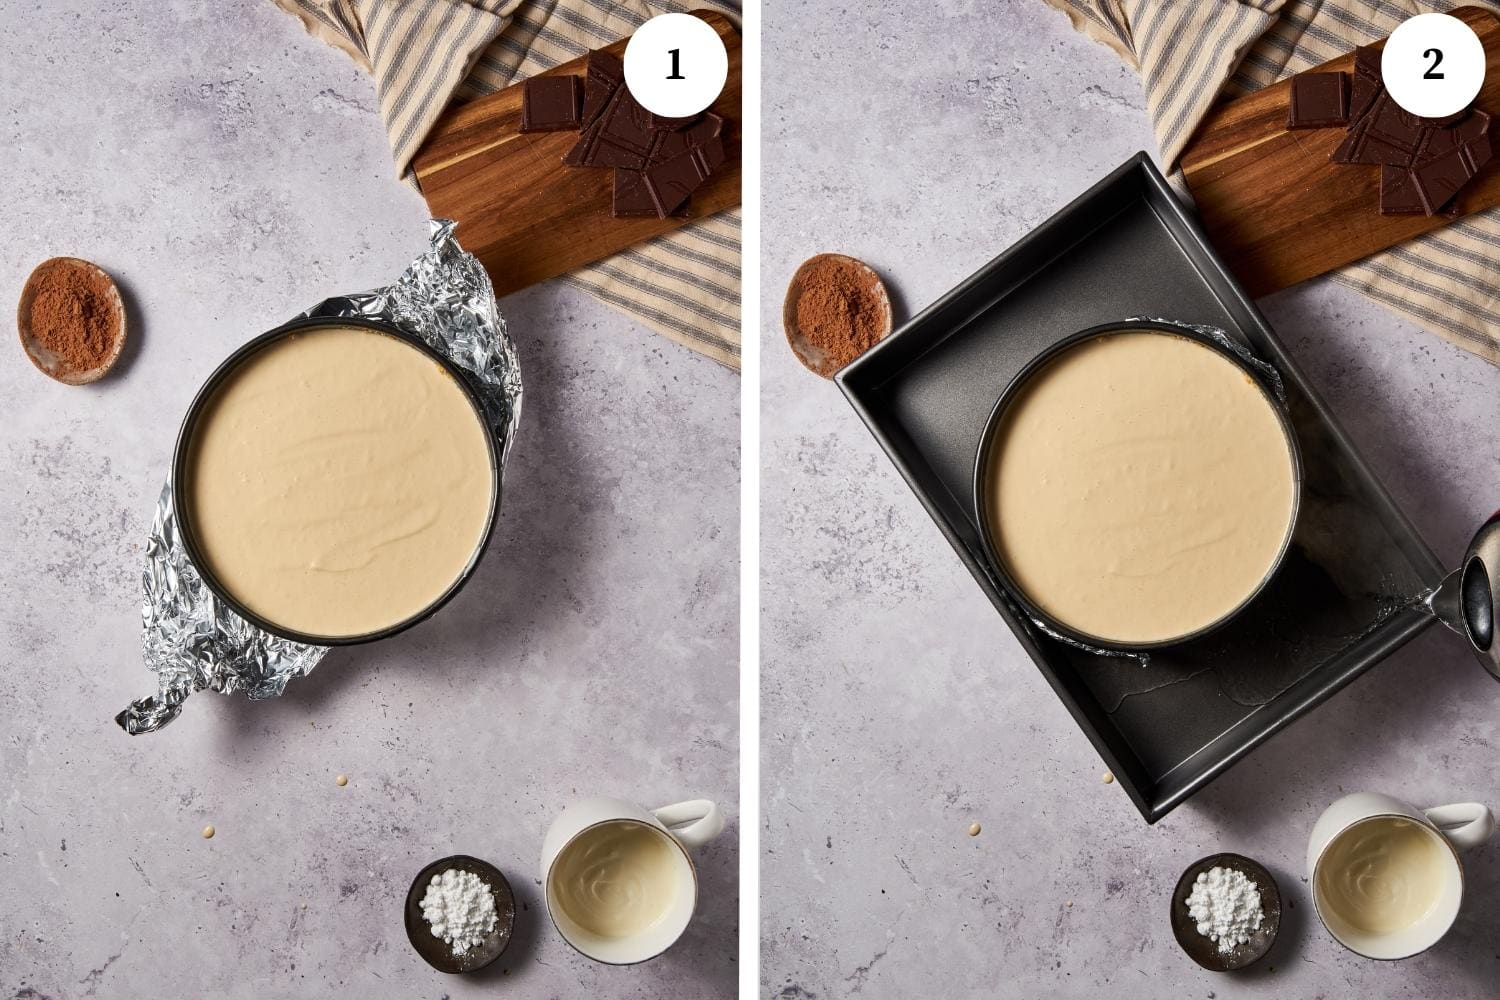
This next step is important and helps to regulate the temperature and prevent the cheesecake from drying out or cracking on the surface. First, securely wrap the bottom and sides of the springform pan with aluminum foil (photo 1) to prevent any water from seeping into the pan. Then place your foil-wrapped cheesecake into a larger roasting pan and fill it with about half an inch of hot water (photo 2).
2. Bake the cheesecake
To bake, carefully transfer the roasting pan with the cheesecake to the center rack of your preheated hot oven. Then bake it for approximately 80 to 90 minutes or until the cheesecake is set but the center still has a very slight jiggle.
Once your tiramisu cheesecake is done baking, remove it from the oven and allow it to cool for about 15 minutes in the water bath. This gradual cooling helps prevent any sudden temperature changes that may cause cracks in the cheesecake. Then remove the cheesecake and put it on a wire rack to finish cooling to room temperature.
3. Wrap and freeze the cheesecake
After the cheesecake has cooled, wrap the entire pan with plastic wrap and place it in the freezer overnight (photo 3). This step helps the cheesecake to set.
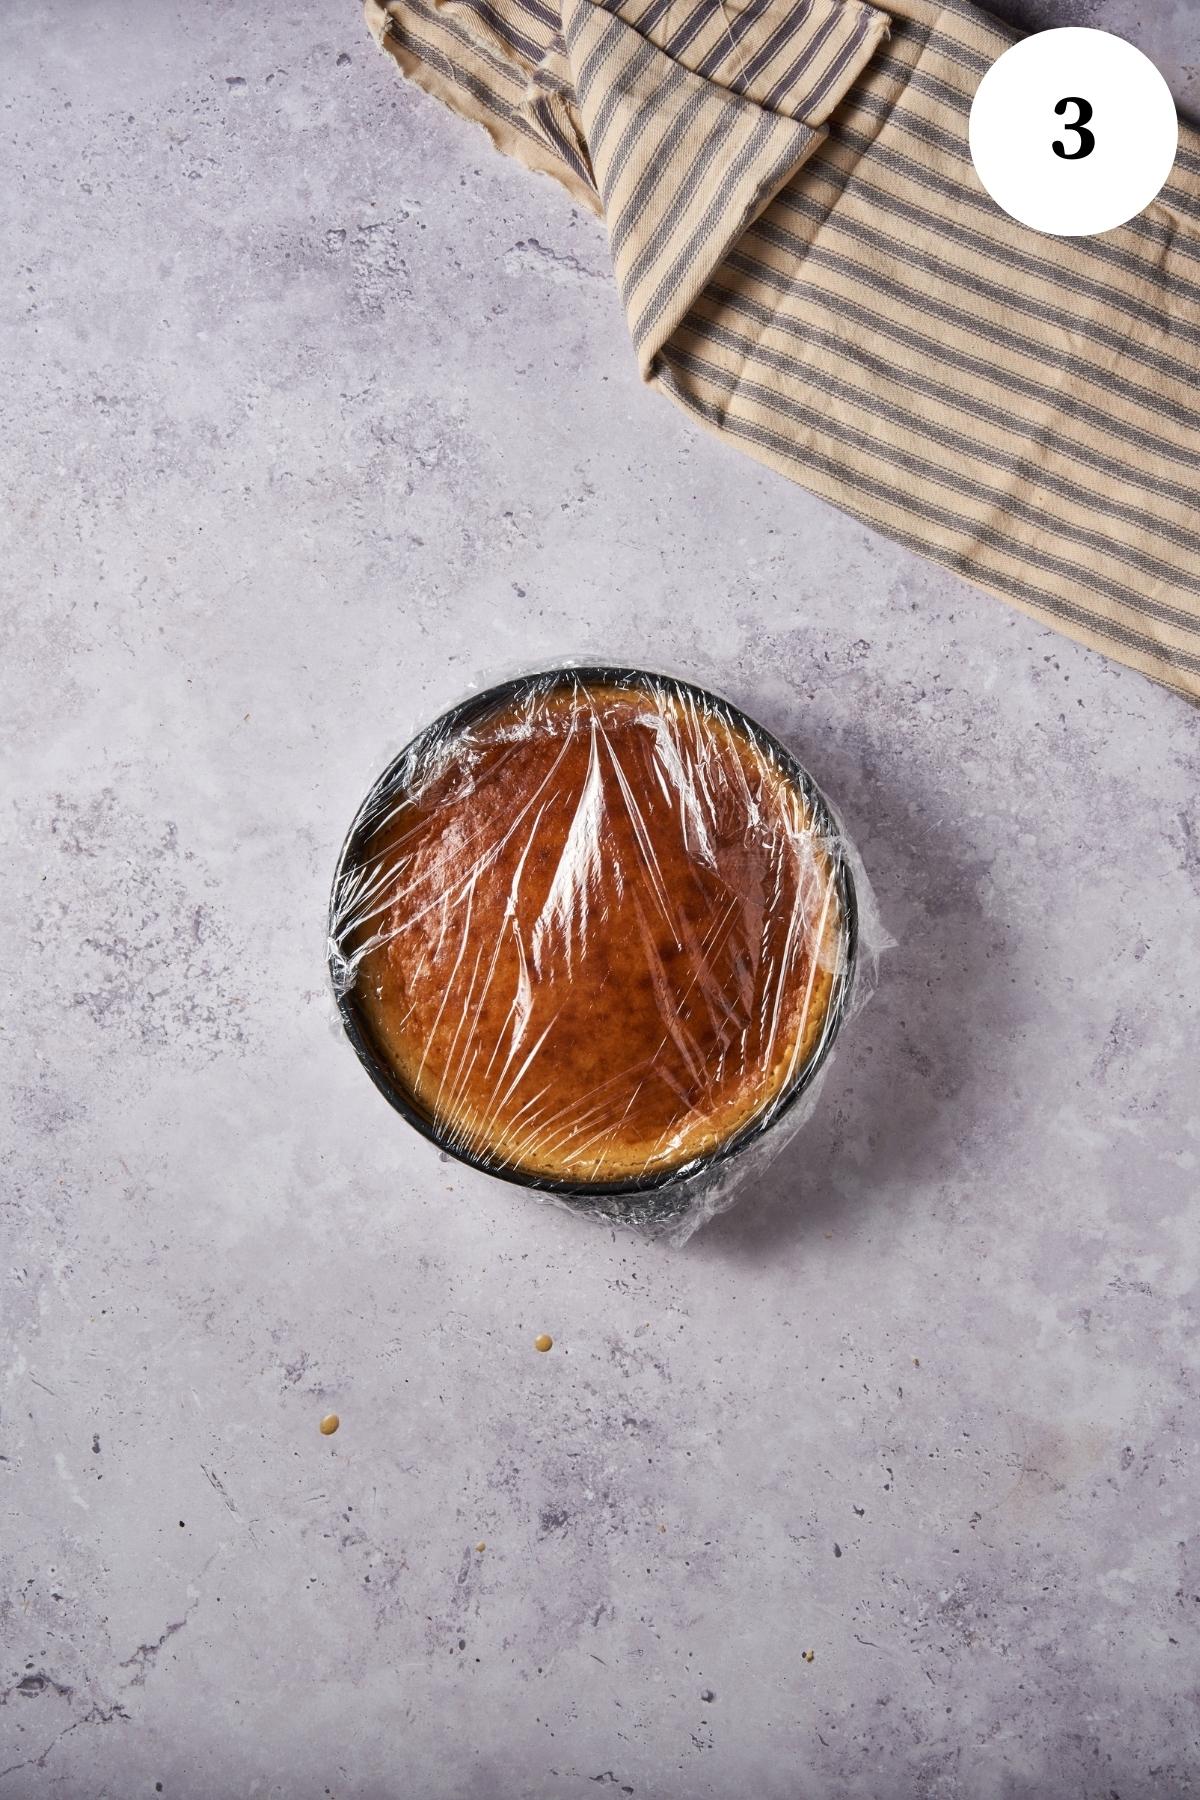
The next day, remove your cheesecake from the freezer. Next, let it thaw out on the counter for a few minutes, and then release it from the springform pan. Now, place the cheesecake on a serving platter and put it in the fridge for 3 to 4 hours to finish defrosting.
1. Make the whipped cream
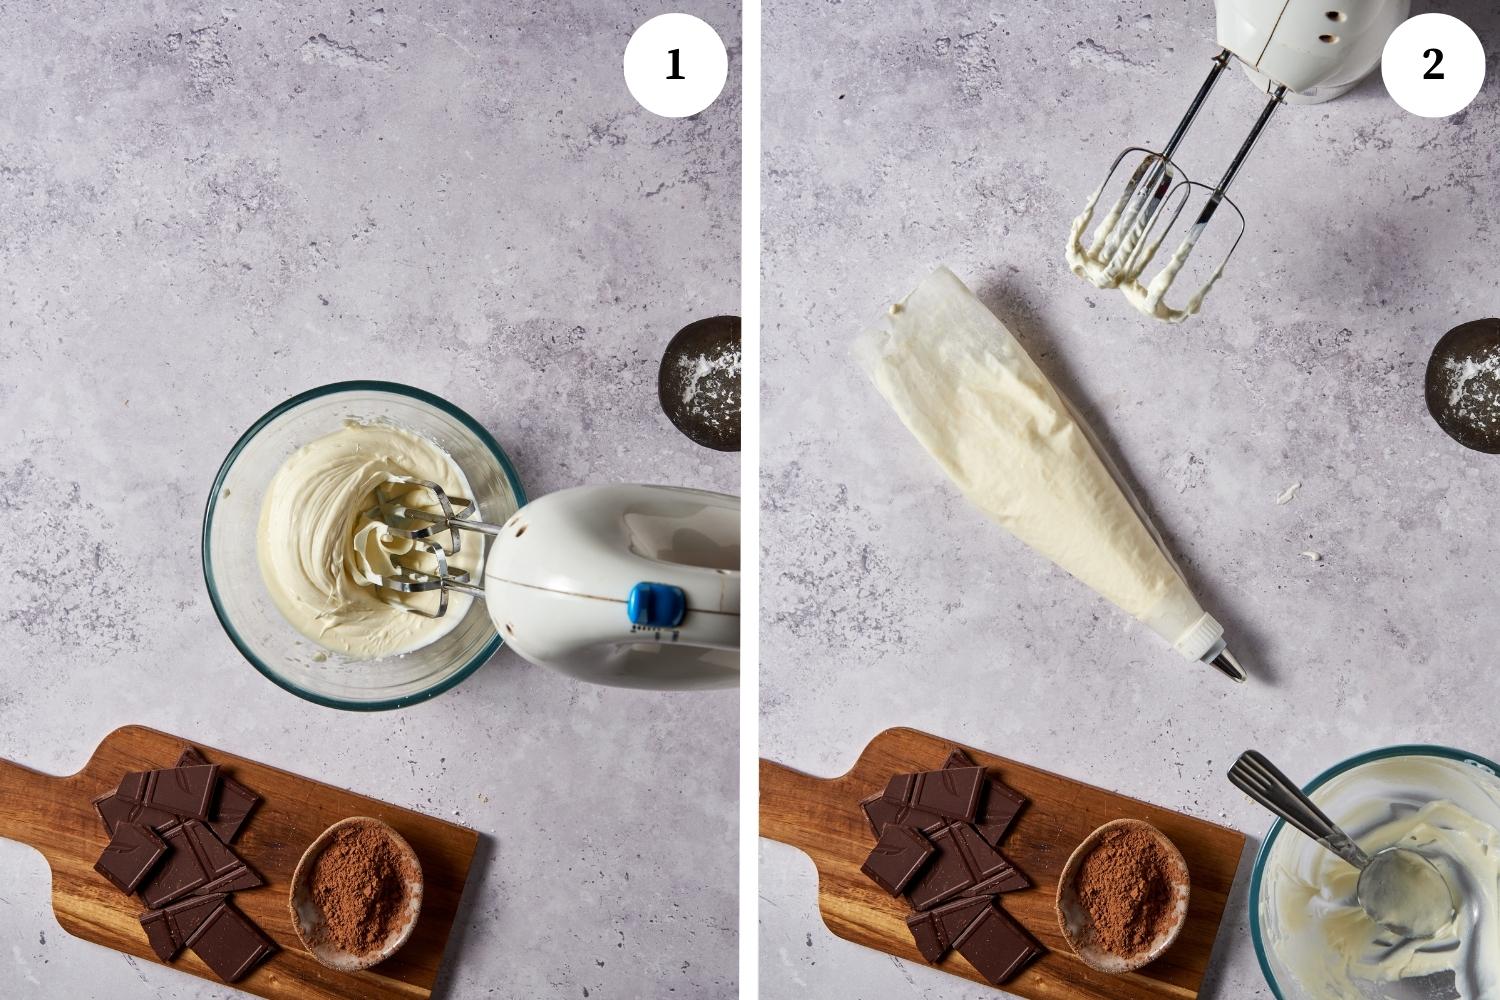
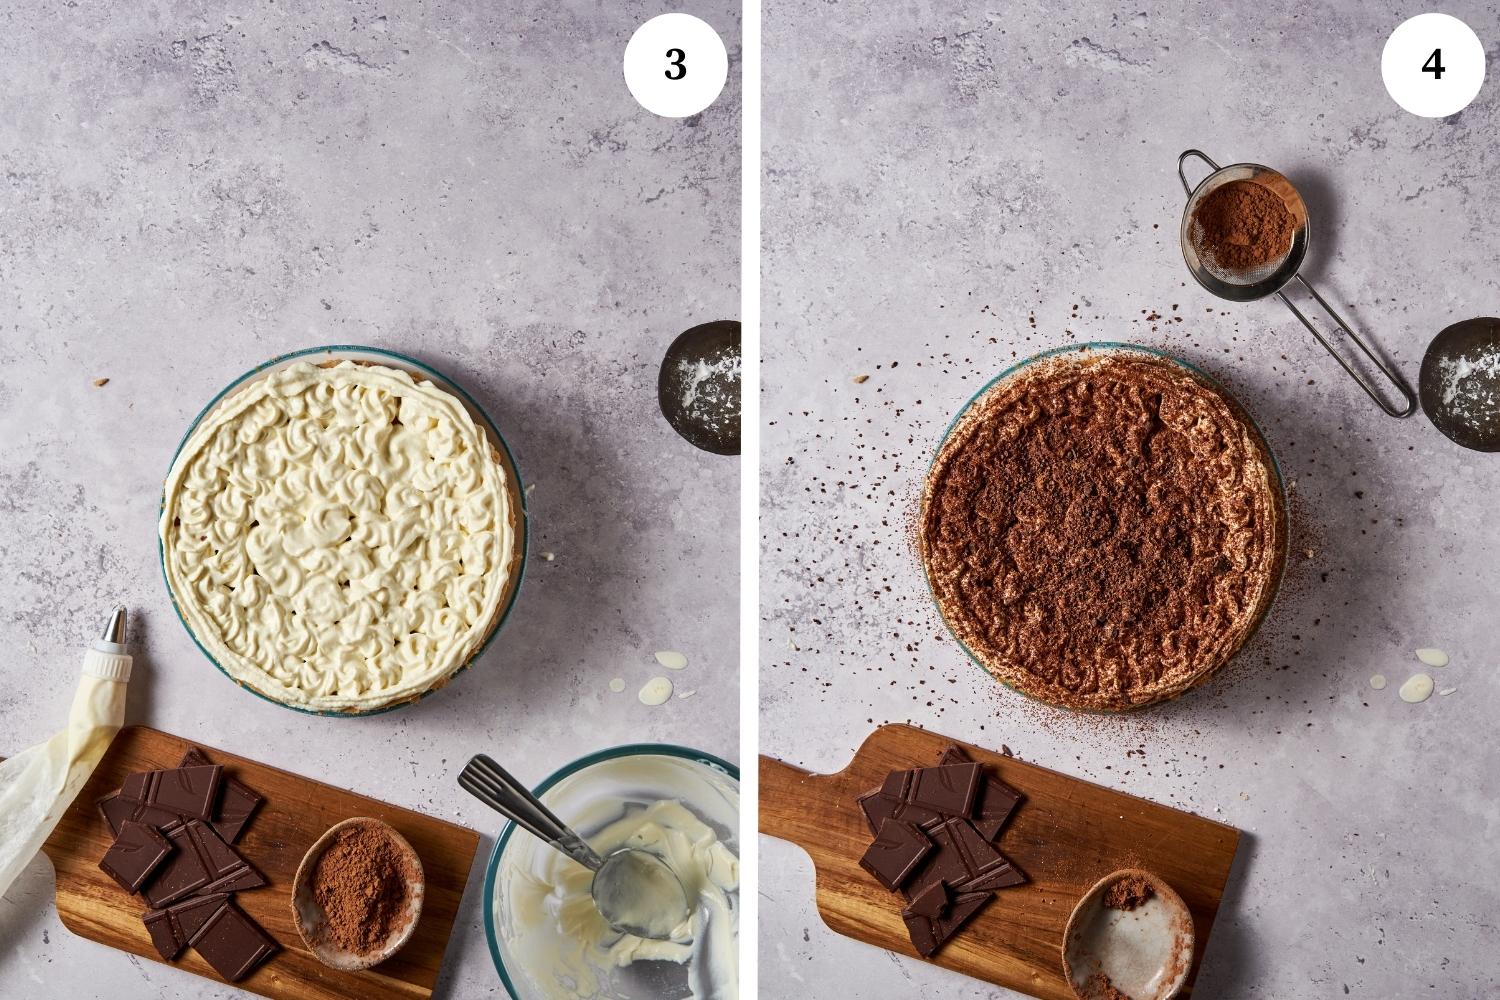
When ready to serve, make the whipped cream by using an electric mixer to whip the cold heavy cream together with the powdered sugar until stiff peaks form (photo 1). This process takes a few minutes and the mixture should be light and fluffy when you’re done. But be careful not to overbeat the cream or it can turn into butter.
Next, transfer the whipped cream into a pastry bag fitted with a large round tip for piping (photo 2). If you aren’t going to decorate your tiramisu cheesecake right away you need to put the whipped cream into the fridge.
2. Decorate and enjoy
After you make the whipped cream, use a fine mesh sieve to give the top of the cheesecake a dusting of cocoa powder. Then pipe the whipped cream around the border. Now, sprinkle some grated semi-sweet chocolate on the top for a final touch of decadence, and serve yourself a slice of tiramisu cheesecake!
This tiramisu cheesecake recipe is undeniably delicious, but you can easily tailor this dessert to match any occasion or satisfy your personal preferences. These are just a few tempting ideas to elevate your cheesecake.
Other recipes to try:
You can store the whole cheesecake or individual slices. In either case, it’s important to place it in an airtight container or wrap it tightly in plastic wrap to prevent air exposure and maintain freshness. The cheesecake can then be refrigerated or frozen.
Properly stored cheesecake can typically be kept in the refrigerator for about 4 days or in the freezer for up to 2 months.
Cheesecakes can crack due to several reasons which include overbaking, sudden temperature changes, overmixing, and improper cooling. To minimize cracks, make sure to follow the recipe instructions. However, even if cracks occur, they don’t affect the yummy taste.
The best method is to wait until the cheesecake is cold and then use hot water and an offset spatula. First, heat the offset spatula in hot water, dry it, and then gently smooth out the cracks of your cheesecake with the heated spatula. Another way is to fill the cracks with more cream cheese.
Yes! You can use a store-bought whipped topping as a convenient alternative. However, the flavor and consistency may vary slightly.
Yes! Once it’s defrosted, simply keep it in the refrigerator and serve it up to 2 days later.
